
“Time is not something I give freely anymore.
You can’t buy my time either. It can only be given and be honored if I give you even a second of it.”
-Silent Echo
This blog is about much more than prepping and saving food. Canning was a skill that I really wanted to learn and there was nothing stopping me from picking up a book. I could have spent time teaching myself the skill of canning a very long time ago. I am a self-taught individual with no learning disabilities. There was nothing stopping me at all.
The difference is, I wanted HER to teach me. That is what this off-grid journey is all about. Sure, canning is a vital skill for the road to off-grid living…but this is my “why” I was talking about. Read about “My Why” if you haven’t already. It’s about the freedom, experiences and quality of life that off-grid living brings.
I spent the day absorbing her knowledge, listening to her stories and connecting with her…all while learning a new skill. Does she know everything? No. Not even close. She even thinks that my vision of off-grid living is a little extreme, but she believes in me. She doesn’t know the first thing about some of these skills I will learn, but she knows canning. I made the most of the opportunity and moment. I suggest you do the same. Time is the only thing you don’t have. Instead of obsessing over dreams and pushing through life…open an opportunity to love someone along the way. Ask someone to teach you something…humble yourself.
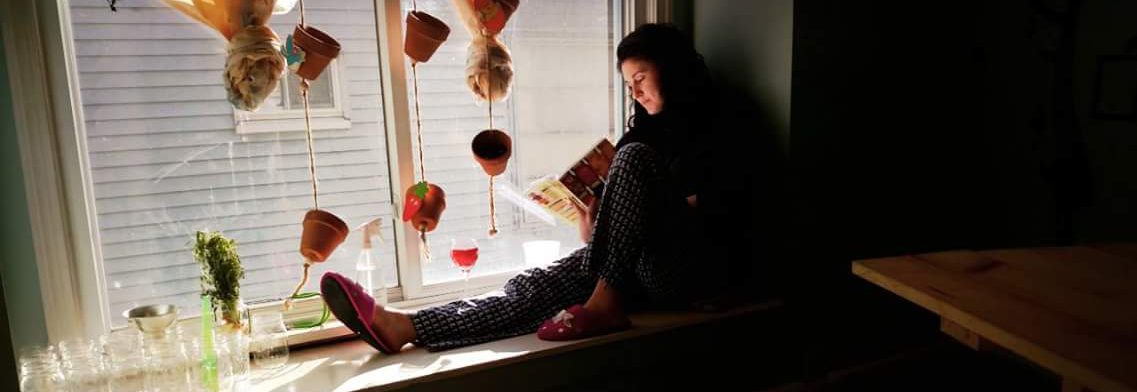
 Grammy is making our syrup in this photo!
Now that all the mushy stuff is out of the way, let me break down the canning of apples!
- Be prepared to spend the entire day canning!
- Only prepare enough for one load at a time. Remember that apples can only sit in the vinegar mixture for no more than 15 minutes so don’t try to mass produce each step. This simply means that if you can only fit 6 jars in pot or cooker…ONLY PREP ENOUGH to fill those jars. The rest will sit too long waiting their turn.
- DO NOT WASTE TIME between steps. MOVE MOVE MOVE
- Remove ALL bubbles before closing jar to process.
- Use fresh, ripe and sound apples. Sort them by size, color and ripeness.
Prep your stations. The instructions differ based upon your tools and desired outcome. For us, we used a pot and jar rack. We filled the pot halfway with warm water.
Peeling station: You should have a colander of some kind set out to hold apples. A peeler and paring knife should be nearby.
Soaking Stage: Set your soaking station with 2 tablespoons each of vinegar and salt to each gallon of cool water in a large bowl. This step is to keep apples from darkening while you are peeling and coring the rest of that batch.
Prep Syrups (if any): If you decide you want to use a syrup, make and keep warm on stove. I used 2 cups of sugar to a qt of water. You don’t want this boiling, but you need the sugar to blend and melt. Keep this warm to fill your jars.
Cans, Lids & Bands: This station needs your spatula (for removing bubbles) and your jars and bands. The lids should be in a bowl of very hot water and kept close by. You will also need a canning funnel which just makes it easier to get fruit and liquid into glass without dirtying your bands or rims.
Extra water: Have an extra pot of water on the stove with boiling hot water. You may need to add this to the pot once jars are in.
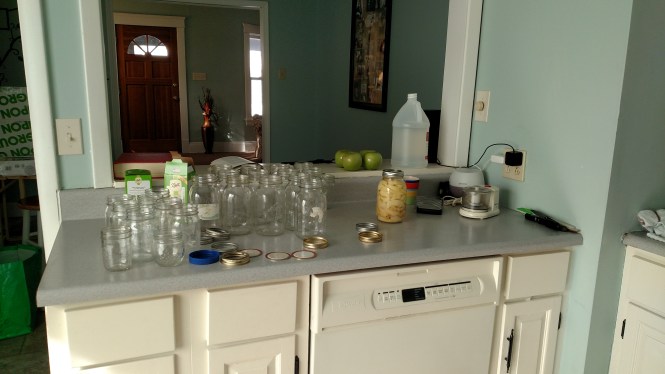
Once the stations are set, you start! See the complete instructions in the 1959 Ball Blue Book page 10. Take a sneak peek into my kitchen below!!
